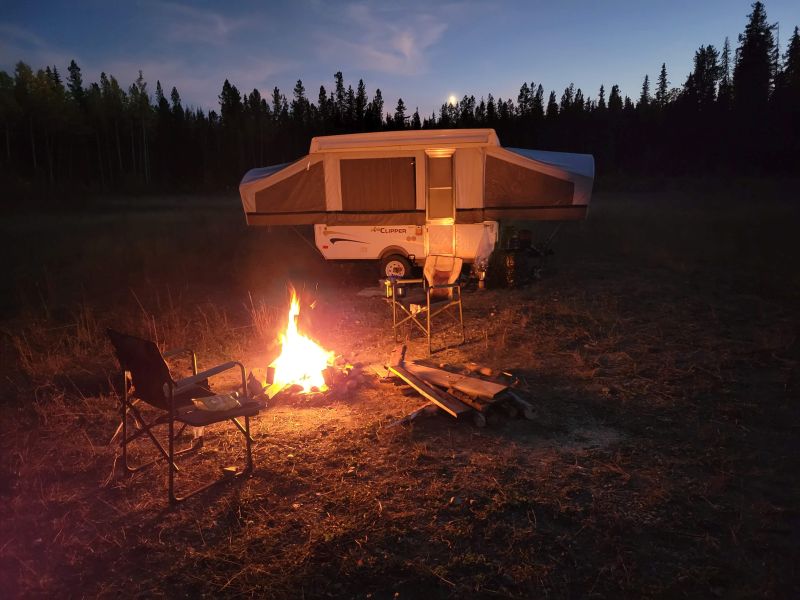
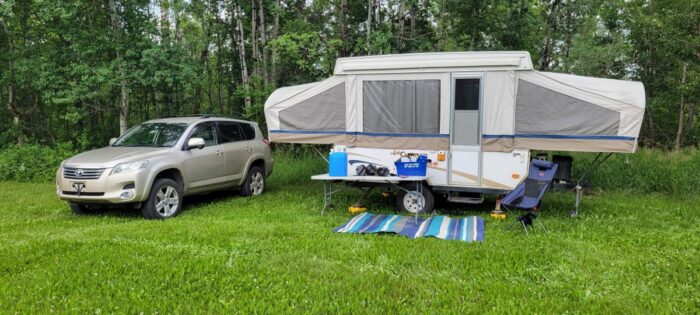
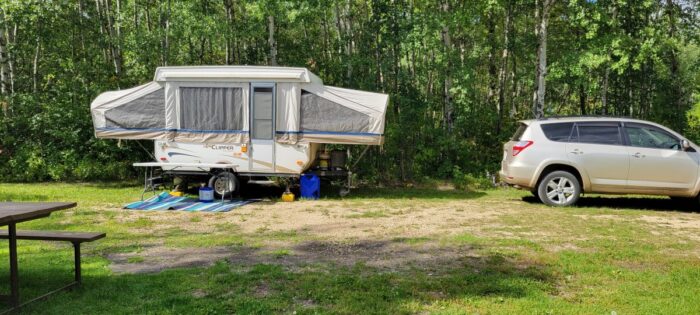
I picked up a tent trailer (called a pop-up trailer or pop-up camper in the US) for hunting, Mapleseed, and family camping. It’s fairly new (2008) but I still found a few things I wanted to upgrade and I’ll include those upgrade ideas below.
Want my packing checklist? Right here.
Use case: I don’t go for weeklong trips, instead I typically do 2-3 days, 2 adults and 2 kids, and I don’t have huge power requirements. I live in Western Canada so AC is not mandatory and I won’t be adding it in. I have used the furnace though.
Completed
- Interior light LED replacement
- Built-in USB chargers
- Battery swap to Lithium Iron (LifePo4)
- Bunk end organizers
- Radio
- Door spring
- Trailer tongue box
- Camping mat storage
- Solar power
- LED Marker light replacements
Planned
- Outdoor lighting
120V USB outlet
Completed Upgrades
Perfectly fit bins
Not really an upgrade but I measured out the space under each bench and got bins that were a good fit so I could make better use of the spaces. These are used to hold items that stay permanently in the tent trailer. I sized them so that I can slide them under the permanently closed part and put other stuff in front if needed.

Interior LED Lights: $5/free

Most people would just replace their incandescent lights with LEDs but I wanted to do something a bit different.
My factory interior bulbs were 18 watt, 921 style bulbs. They were pretty hot and waste more power than they need. A lot of the replacement LED bulbs are a bit of a roll of the dice on quality. You might get decent bulbs, or you might get one that uses poor quality LEDs that give off crappy quality light and they’re not super cheap at around $10-20 per bulb at local shops. I noticed that the light receptacle had a painted metal heat shield behind the light and that gave me an idea.

I opted to use the heat shield to mount 3 short strips of good quality, warm-white LED strip lighting and wire it into a connector. The bigger metal surface gives good heat shedding and I can rip them out and put the bulbs back in if I want. I had used this strip lighting already in my gun room and found the light quality and color to be decent and I had enough left over to do this job so this was a free alternative to buying LED bulbs. If you don’t have any LED strip lighting, just use replacement LED bulbs.
LED Interior Light Upgrade Advantages
- From 18 watts -> 5 watts of power consumption per light
- The LEDs will never need replacing
High speed USB Chargers: $20/ea
I don’t want to have to remember power chargers, power banks, and I don’t want to leave phones charging overnight. USB-PD and QC technology has come a long way and you can now charge your phone in under 1hr.

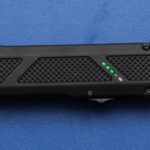
I picked up direct wire 12V USB chargers for $20 each. This one was a bit more expensive than some others but it was very compact and could charge at a very fast rate. I opted for one that had both the older USB-A and the new USB-C connectors.
If you’re curious, I measured the vampire draw (power usage when nothing is charging) of this charger and I won’t be worrying about it:
- 0.3 watts with the display on
- 0.04 watts with the display off

I drilled a hole in the location I wanted it (one near each bed), then I wired in to the interior light circuit, which now has lots of headroom since I’m saving power on the bulbs.


USB Charger Advantages
- Leave the power bricks at home
- Charge phones with or without a 120V hookup
- Battery voltage monitoring
- Up to 45W PD (good enough for laptops) and 18W QC
Update: as time goes on, higher power options will become available. My buddy installed these 65 watt chargers in his tent trailer and they have even less vampire draw (but no readout). Getting one with a cigarette lighter port will make future expansion easier.
Install Basic Radio: $50 with antenna
My wife likes to listen to AM/FM radio. I found a very lightweight, compact radio on Amazon for $40 that had integrated speakers. It doesn’t sound great but it gets the job done. It has Bluetooth and aux in but those will probably never get used. I installed it just under the sink because that cabinet space is so cramped that it’s unusable anyways.


Lithium Battery Replacement: $270

Lead acid batteries are heavy and you can’t drain them past 50% without damaging them. The existing battery was an OK deep cycle battery that was mounted at the front of the trailer.
The replacement battery is a 60Ah battery that’s 30lbs lighter and should give twice the power of my lead acid without damage. I didn’t opt for a larger battery because 60Ah is enough power for a long weekend off-grid in a tent trailer with few electric amenities. If you use more power, you might want to go for a 100Ah battery or even a 200 if you do a lot of off-grid camping or want to use more electric appliances. I may add some solar in the future to keep the battery juiced up for longer trips. I opted to put the battery inside the trailer near the converter so it was out of the way and so that I could easily hook up solar in the future.
This upgrade is extremely unnecessary and comes with real drawbacks, I just did it because I’m a gearhead and like new tech.


Battery & charger wired in under a bench next to the converter.
I disabled my 12a converter and instead use a 10A/14.4V lithium charger that came with the battery. That’ll provide me with power if I’m hooked up.

Power usage in my tent trailer:
- Idle: 0.1a: carbon monoxide detector and whatnot.
- Furnace: 3.5 amps (17 hours of runtime if that’s all I’m using. That’d cover ~3 cold nights)
- Interior lighting: insignificant
- Water pump: insignificant since it can drain the tank with using less than 1 amp hour
- Phone charging: dunno the amps, but it’s about ~10WH per phone battery pulling from my ~750 WH battery so who cares.
- I don’t bring laptops, tablets, or that kind of thing camping.
Lithium Iron Phosphate batteries don’t blow up or light on fire like phone/e-bike batteries do. They’re a bit heavier but also last for far more charge cycles which is the main reason that electric vehicles and solar storage are moving toward this tech.
Lithium Battery Upgrade Advantages
- Save some weight on the trailer tongue
- Draining the battery to 0% doesn’t damage it because it’s got a built-in battery management system
- Should last the life of the camper (thousands of charge cycles)
Lithium Battery Disadvantages
If your camper is even a little bit old, it probably doesn’t support lithium and it won’t be a direct drop-in. For the hassle and extra cost, it might not be worth it for you.
- Your RV converter probably doesn’t support the charging profile for lithium batteries. You may be able to replace the converter with a lithium version (at stupid prices) or disable the converter in favor of a separate high amp charger.
- Lithium batteries can recharge at very high currents and will ask for it if they need it so your vehicle shouldn’t be directly hooked up to the battery via the 7 pin trailer connector. You likely need a DC-DC converter so you don’t cook your connector, wiring, or alternator when your drained lithium battery asks for 100 amps.
- If you recharge lithium batteries at temps below freezing, you’ll damage the battery. Some batteries have low-temp cutoff so they automatically don’t charge, while some others have heating pads to bring them up to temp, and others just rely on you to do the thinking.
Bunk End Organizers: $18/ea
Not really a mod/upgrade, just a way to get a bit more personal storage. I picked up a couple of these up to hang from the shepherd’s hook supports and add some basic personal item storage space to each bed.

Auto-close spring
My buddy’s popup had a door spring that auto-closed it and I wanted one. $5 from my local Canadian Tire for a storm door spring, plus a bit of 1/2″ clear tubing to stop the “SPROING” sound as the spring hits the door. EZ.

Trailer tongue box
Now that I didn’t need my battery out front, I opted for a much bigger storage box that was waterproof and could store all my cranks, blocks, and levellers.


PVC Tube Camping Mat storage: $100
I really like this idea: you strap a 6″ PVC pipe along the back or front of your tent trailer and that’s the home for your 5×7′ polypropylene camping mat. No need to try to stuff a wet or dirty rug into the camper.
Update: The pipes were like $100 so I changed my mind and decided to just strap the mat to the rear bumper or put it inside.


Solar Power: $300
This is definitely a want more than a need but it would save me some time. By permanently mounting panels on the roof, I could charge on the road, charge at camp, and recharge the battery at home without having to plug in.
If I was going off-grid for more than a few days, solar would handle keeping the battery topped up.
I’m currently looking at solar panel kits that add in a panel or two and a charge controller. I’d like to flat mount these to the top of the trailer and more or less permanently hook them into the system so that I don’t have to ever think about it. I don’t want to haul panels out and face them to the sun when I get to location and I’m OK with crappier performance from flat mounting to the roof. This is a pure laziness play.
- $189: Renogy 100W panel kit with 10A charge controller
- $269: Renogy 200W panel kit with 30A charge controller
Might as well go 200W right?
July 2023 edit: I went with a 100w/30a controller kit, not regretting it.
LED Marker Lights


This wasn’t high up on my list of to-do’s but after seeing how reasonable the pricing was for LED marker lights while shopping around for a buddy, I decided to replace mine too. For $40, this set perfectly replaced the old markers I had on my trailer. They are a LOT brighter than the old ones.
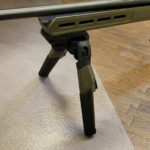
Relocated Swinging Jack
My old jack had to be removed or set to the top of height when in transit because it stuck down too low. I replaced it with a $50 rotating jack that doesn’t need to be stored and has a side crank so that I could stick it a bit out of the way.

Future Upgrades
Outdoor LED strip: $15
This is a nice to have for cooking at night and I may or may not go through with this. Would mean mounting a weatherproof LED strip high up on the camper and wiring in a switch inside since I don’t want to bother with an outdoor switch or punching a hole in the outside of the camper. I’ll probably just use a lantern.