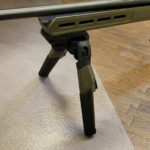
 One of the best in-field accuracy improvers you can add to a sporting rifle is a bipod. Having that secure platform at the front to shoot off can realistically double the range you can safely take game at when standing. They’re also great for keeping the important parts of your rifle out of the dirt and making it easy to scope out deer for long periods of time. The bipod I’m reviewing here is a Shooters Ridge Rock Mount 9-13″ bipod, but keep in mind that pretty much all of the bipods in the $50 range have very similar features. There’s probably a factory in China that pumps out all of these bipods under a bunch of names and brands.
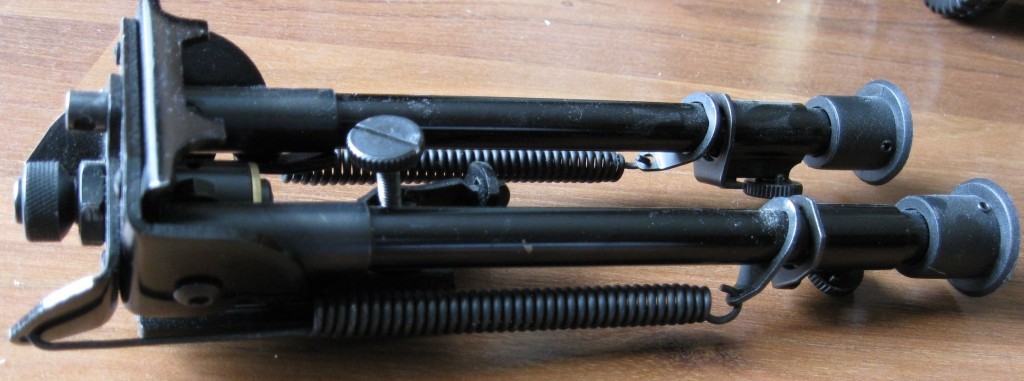
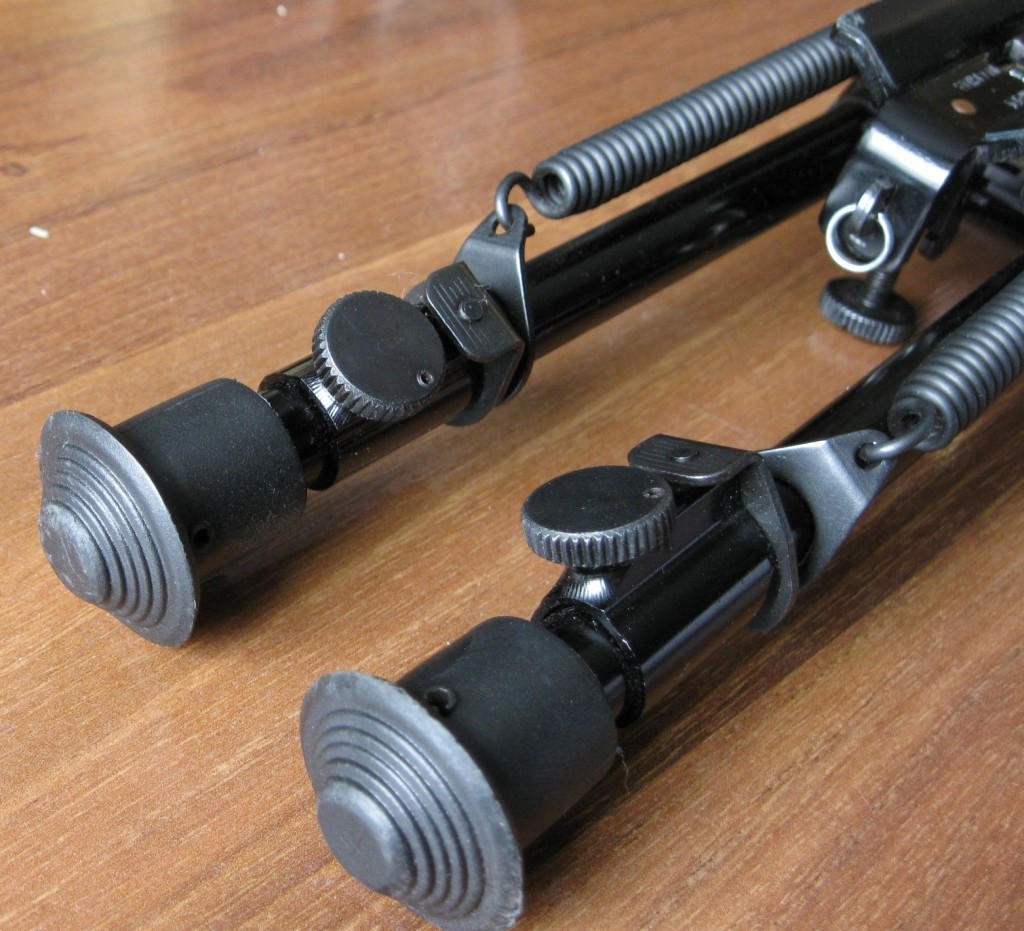
This bipod offers 9-13 inches of adjustable length in the legs and their next biggest bipod offers 13.5″ – 23″. The 9-13 is better for shooting from prone, whereas the 13.5-23 gives some sitting options. Personally, I dislike longer ones because you either have to fold them really far back into where your support hand would be, or really far forward near the end of the barrel.
Installing the Bipod

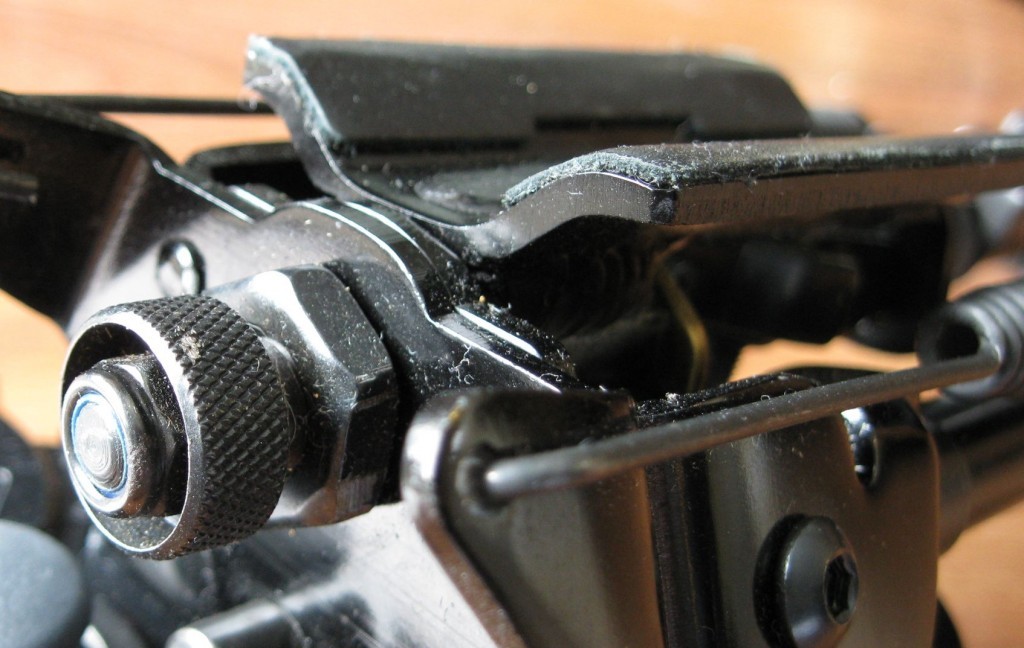
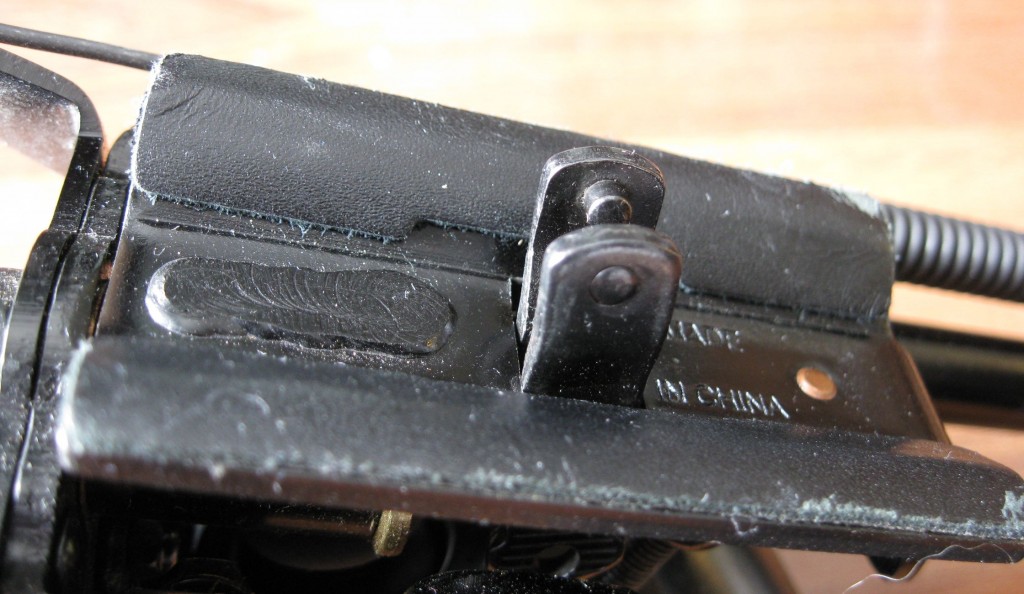
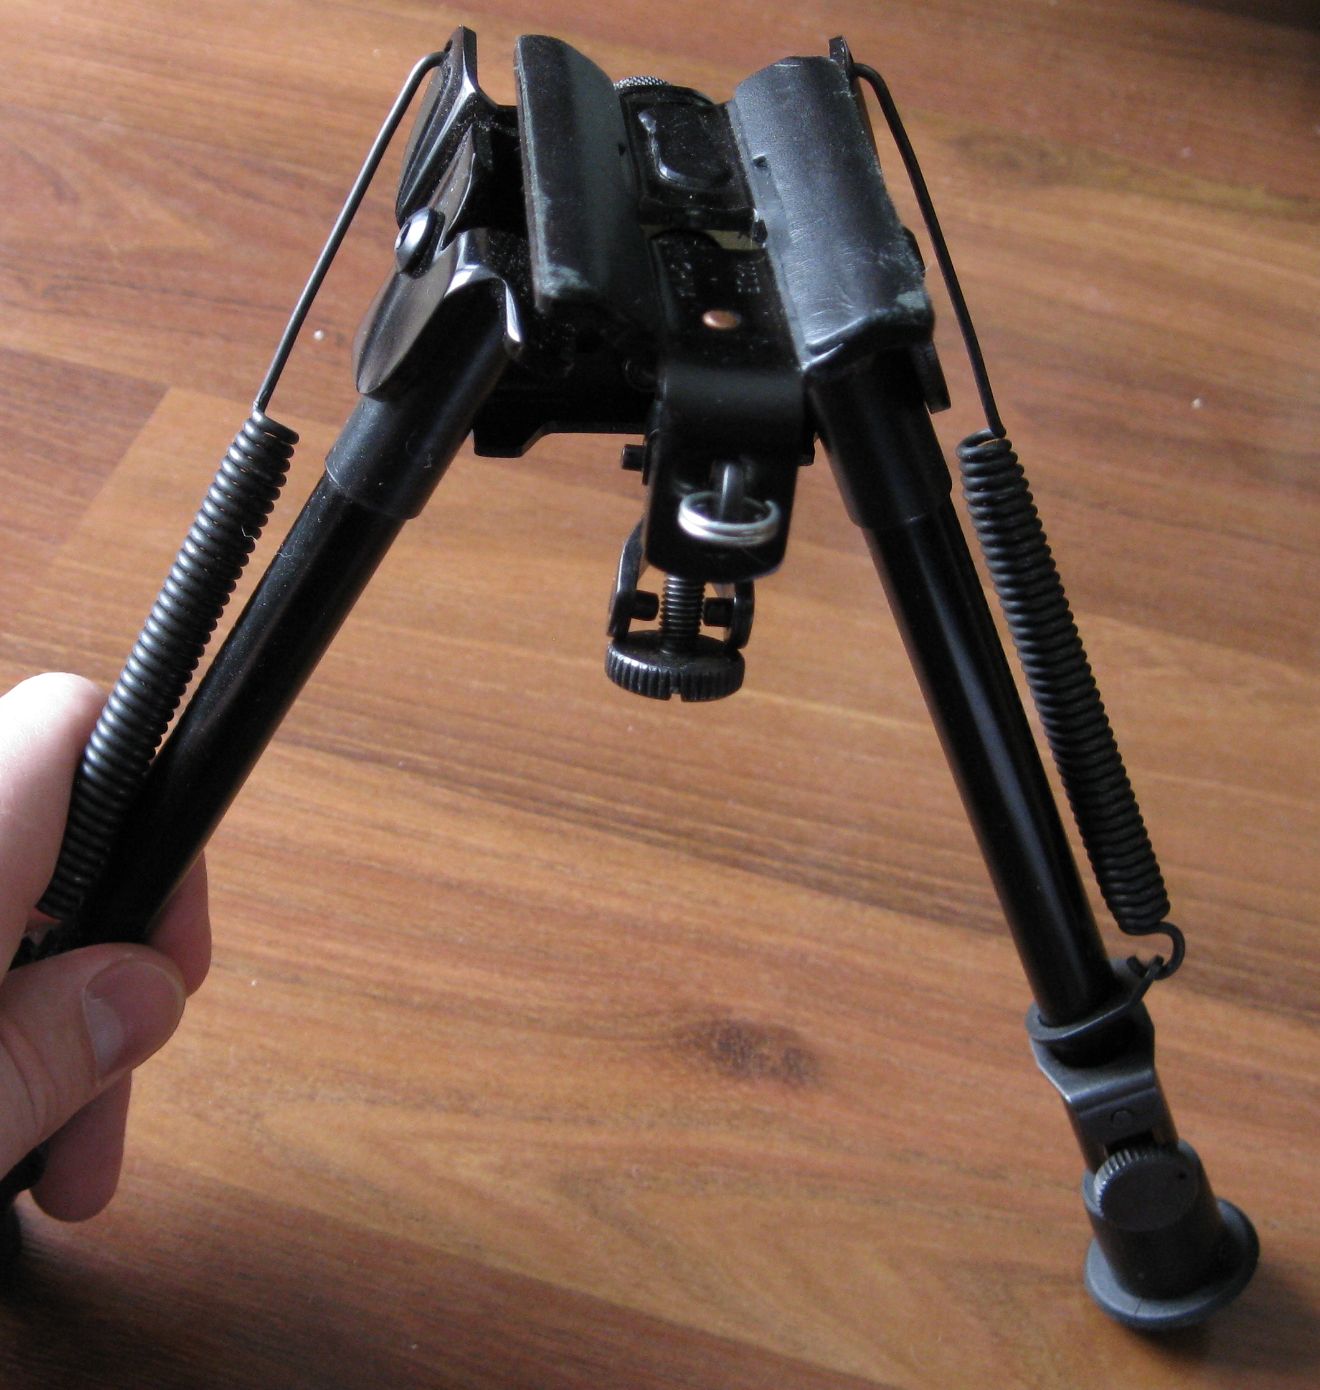
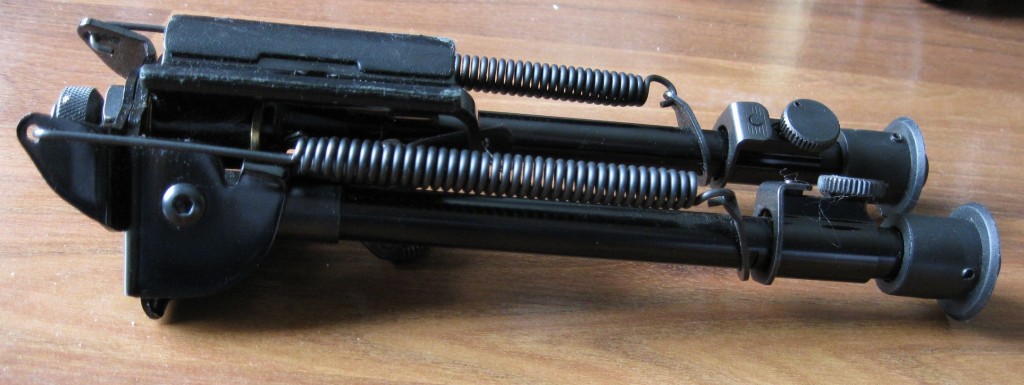
Installing the bipod takes about a minute. See those two tabs with the pins in the middle? Those lock onto a sling swivel stud (also called the sling eyelet) found on most sporting rifles.

That big fat screw on the other side of the bipod is used to loosen those tabs so that you can get them onto the sling swivel stud, and to tighten the bipod against your rifle stock. The bipod has a pad that contacts the rifle stock, so there’s a bit of cushion that you can torque against when snugging up the bipod to the stock, but don’t overdo it. If you’ve got a sling you want to put on your rifle, you’ll have to now use the stud that’s at the end of the bipod. Note that some rifles (tactical rifles in particular) offer 2 sling swivel studs so that you can use your bipod and a sling.
Adjusting the Bipod

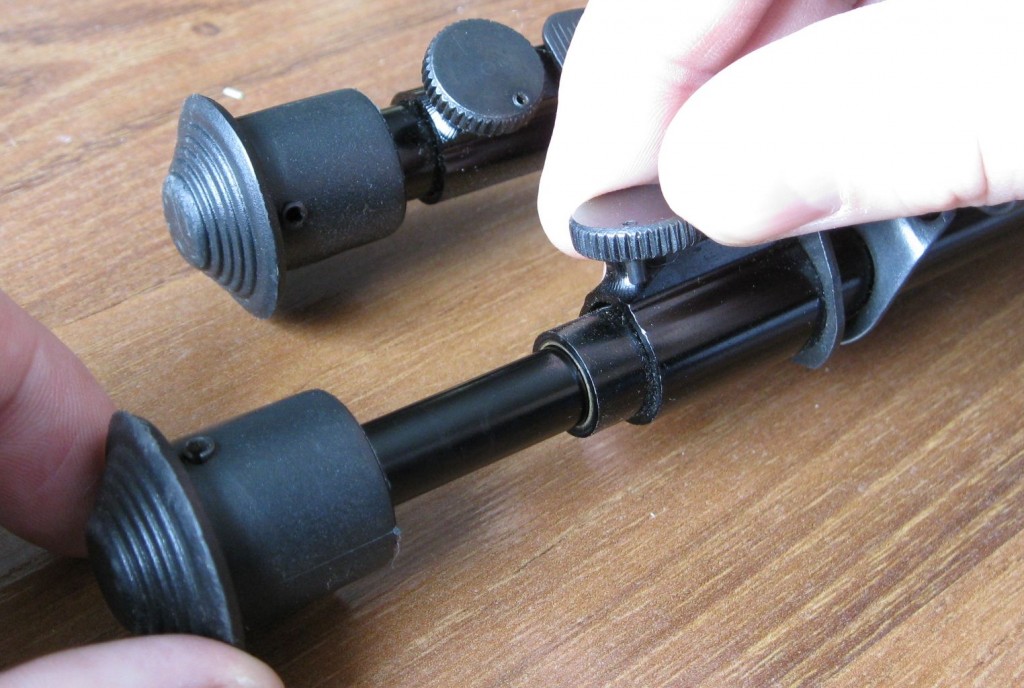
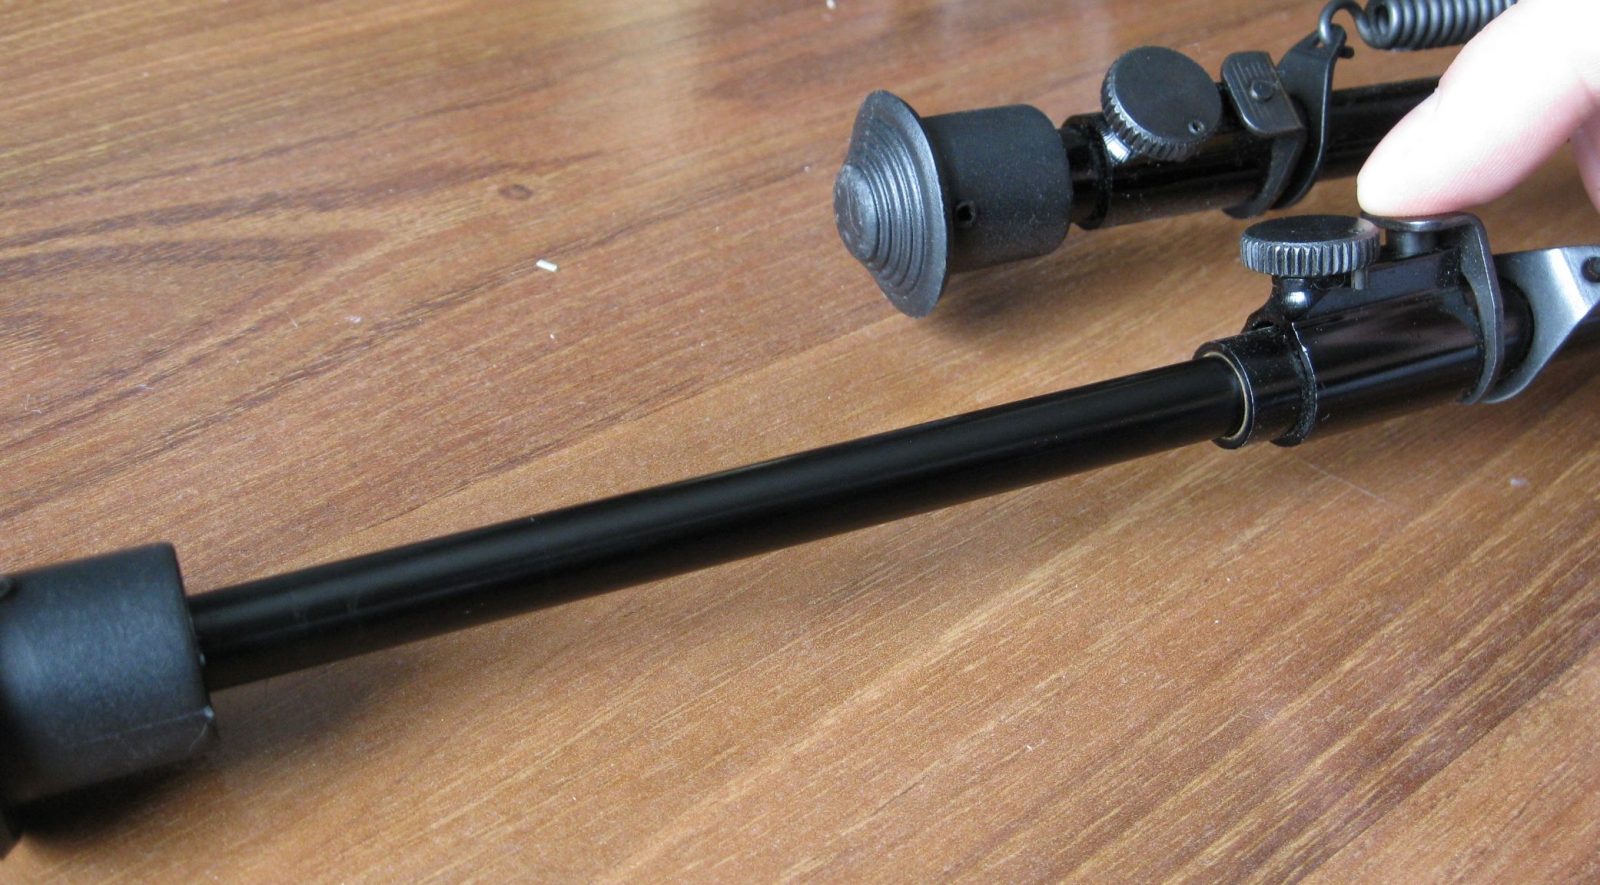
The legs can be set to any length by pulling the leg out to desired length, then turning the tension dial on that leg until it’s snug.

You can also immediately set them to max length by simply pulling them out. They’ll automatically lock at their max range. To collapse them back, just hit the release tab on that leg. Be careful, as the leg will slam back into the extension; don’t get your fingers pinched.

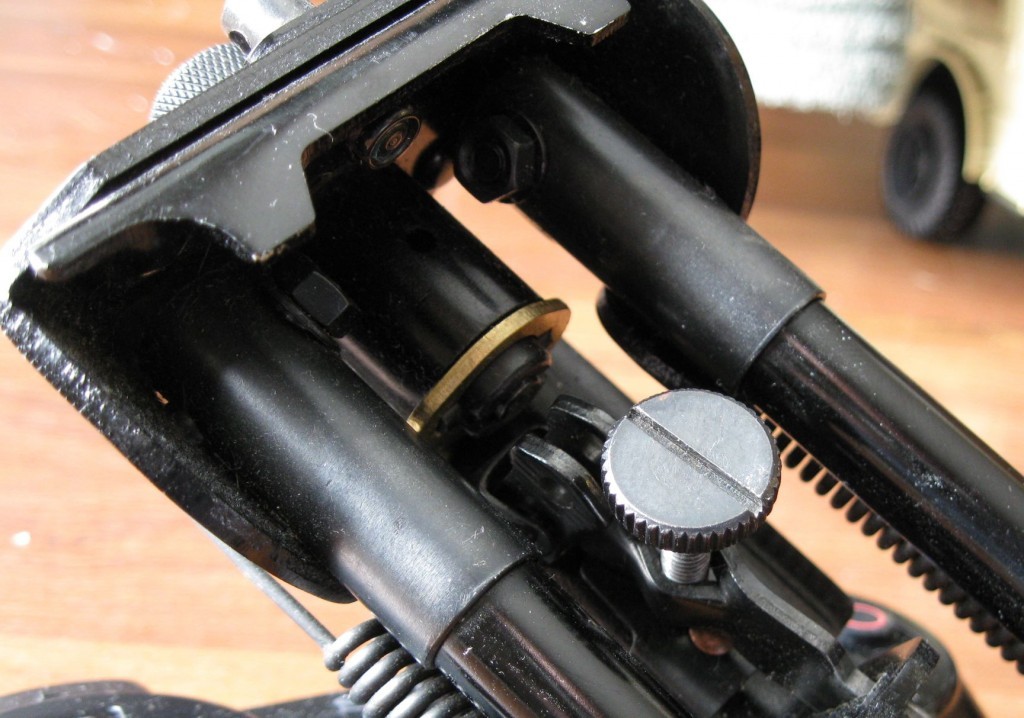
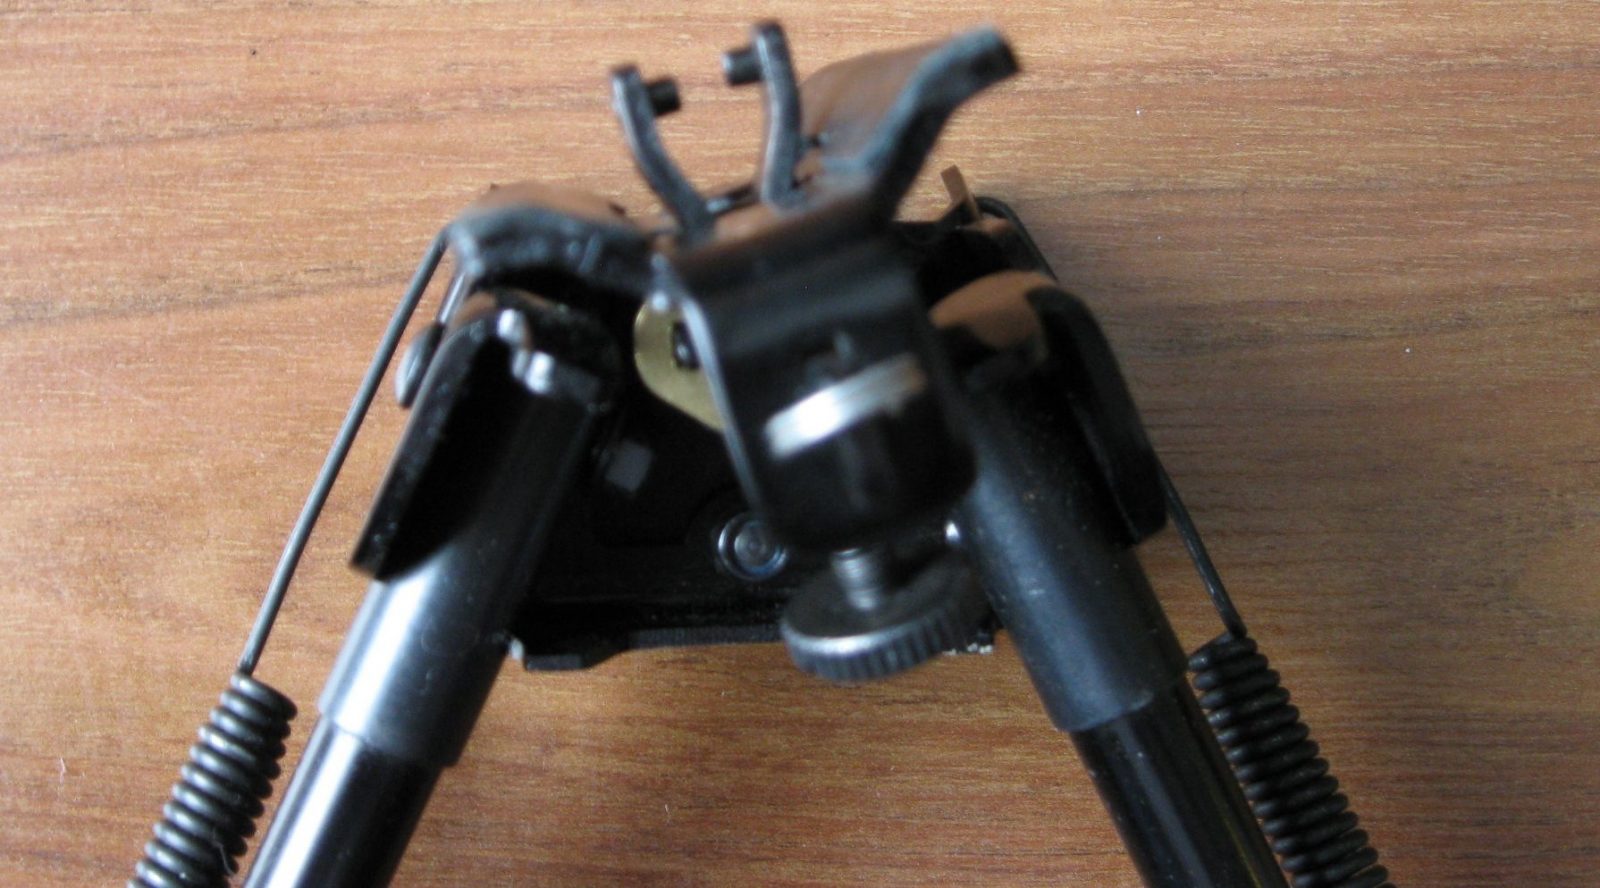
Lastly, there’s a knurled adjustment nut up front that adjusts how hard it is to cant the bipod. Canting the bipod is useful on hills or uneven terrain. I prefer that it be easier to cant, as it’s really easy to control the cant of the rifle when firing, but it can be difficult to get the bipod to lay exactly how you want it to if there’s a log or something that you want to put one of the legs on.