It has been too long since my last mini-post. This one’s on DIY archery targets.
I’ve built the DIY archery targets with the foam puzzle pieces that people like to use for kid areas or for workshop floors and I’ve seen the compressed cardboard targets. Both work just fine. Where I think a bag like this excels is in how easy it is to pull arrows out of. Pulling arrows out of a foam block style target is a pain in the butt (haha, archery pun!) and for simple target practice, I like easier.
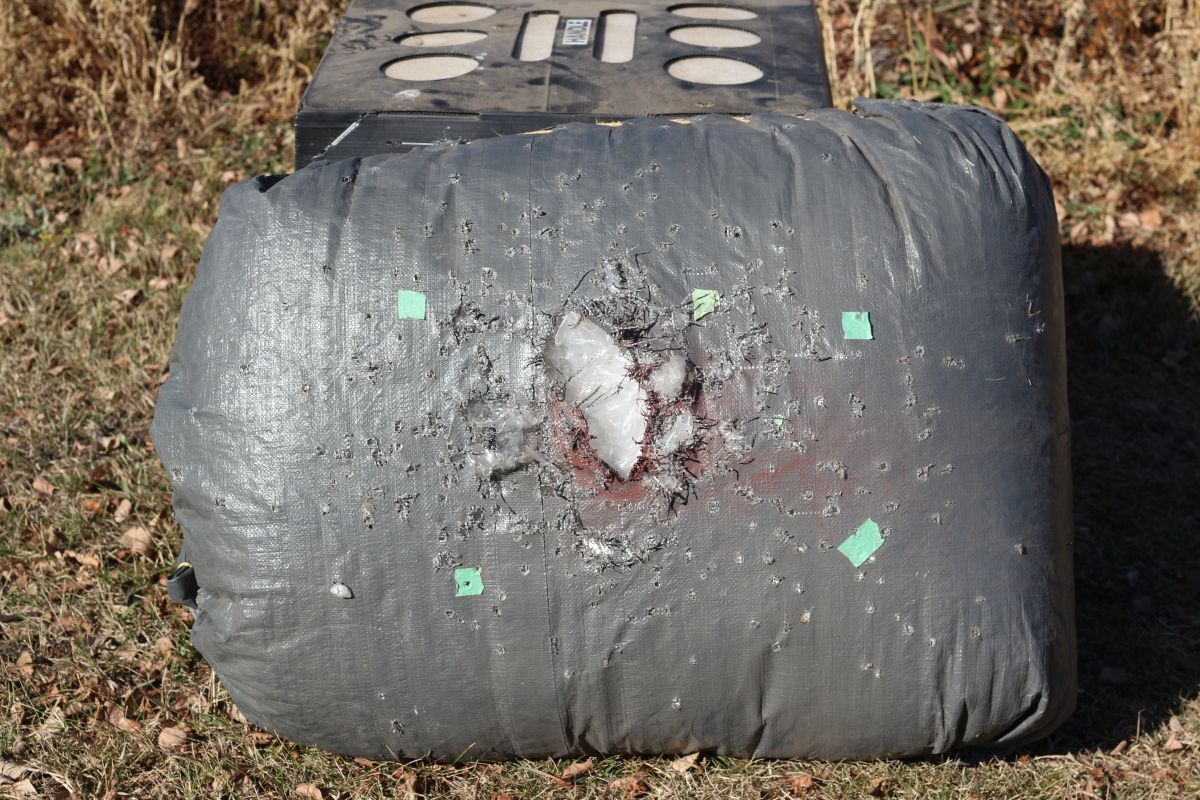
Making your own DIY archery target bag
To make this target, get a burlap sack or make a rough sack shape with tarp or whatever material you have at hand for the outside “skin” of the target. I used an inexpensive rope to stitch the tarp into a bag shape. Leave the top open, and start stuffing it with light poly wrap, grocery bags, whatever light plastic sheet-type material you have. The idea with using light plastic is that it moves fast and quickly bunches up dozens of layers to stop the arrow. By leaving the plastic pack a bit loose, it lets the layers compress rapidly and hold the arrow without having it penetrate many plastic layers. Fewer layers penetrated = less effort to remove the arrow and less damage to the target. Compress the materials a bit when you’re packing so that the plastic is evenly distributed through the bag and it won’t be loose in the corners, but not so much that it’s too tight and bursting at the seams.
Pros of a home-made target like this:
- CHEAP
- Design it according to the size you need
- Much easier to pull arrows out of
Cons
- Tends to roll if hit with arrows, needs to be propped up or steadied for longer sessions
- Can’t deal with broad heads
- Looks ugly compared with factory-available targets